
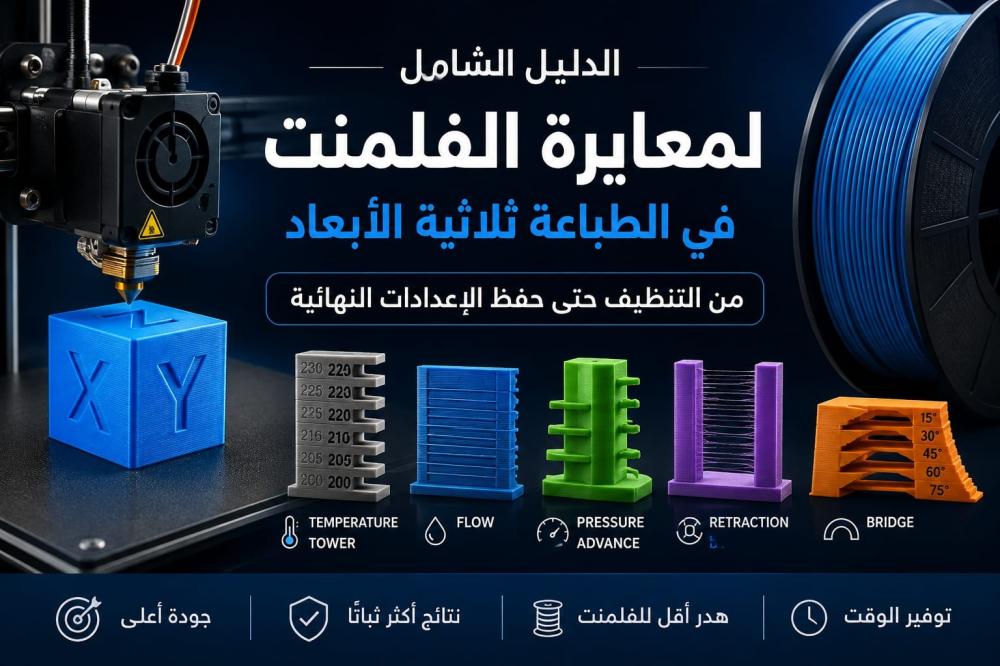
🎯 Filament Calibration Guide for 3D Printing
Getting the best quality from your filament does not rely only on the settings printed on the spool; every printer, nozzle, and hotend may produce different results.
This guide explains how to calibrate the most important filament settings in the correct order and with the minimum number of tests.
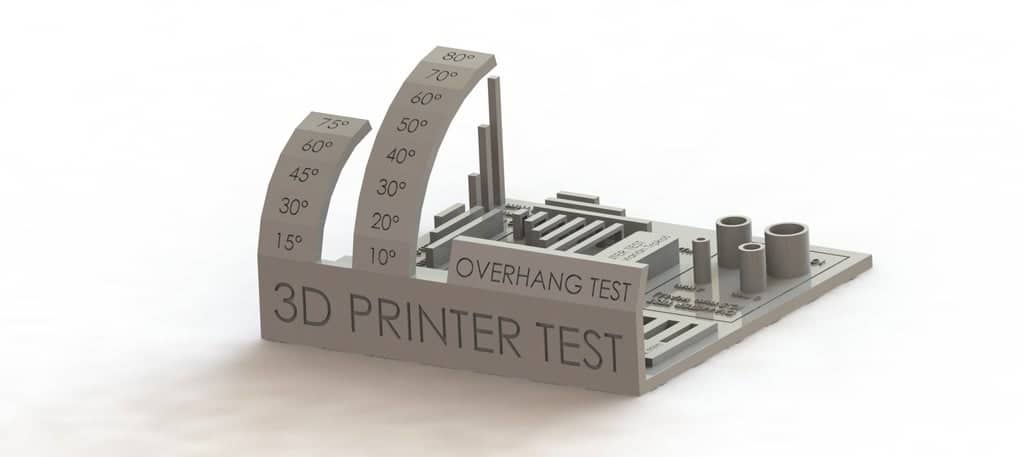
🧭 Before You Start
Before calibrating the filament, stabilize your printing conditions so your test results are accurate and comparable.
🧼 1. Clean the Print Surface
Ensure the surface is clean, free of oils and dust, and that bed leveling and the first layer are properly adjusted.
🔧 2. Inspect the Printer
Make sure:
- The nozzle is clean and not clogged
- Filament extrudes smoothly
- Axes move without friction
- No looseness or noticeable vibrations exist
🏎️ 3. Fix the Print Speed
Start with a speed within the filament manufacturer’s recommendations and within your printer’s limits.
Keep this speed constant throughout all calibration tests.
🔥 4. Fix the Bed Temperature
Use the bed temperature recommended by the filament manufacturer and keep it stable during all tests.
⚙️ 5. Fix Basic Settings
Do not change:
- Nozzle diameter
- Layer height
- Line width
- Filament type
⚠️ Important Rule: Change only one setting per test.
📋 Calibration Order
📐 Bed Leveling
🌡️ Temperature
⚡ Maximum Volumetric Flow
🚀 Pressure Advance / Linear Advance
💧 Flow
🧵 Retraction
🌉 Bridging & Cooling
📏 Dimensional Accuracy
① 📐 Bed Leveling
If your printer does not perform automatic leveling, start by leveling the bed before any other test.
🎯 Goal
Achieve a uniform first layer.
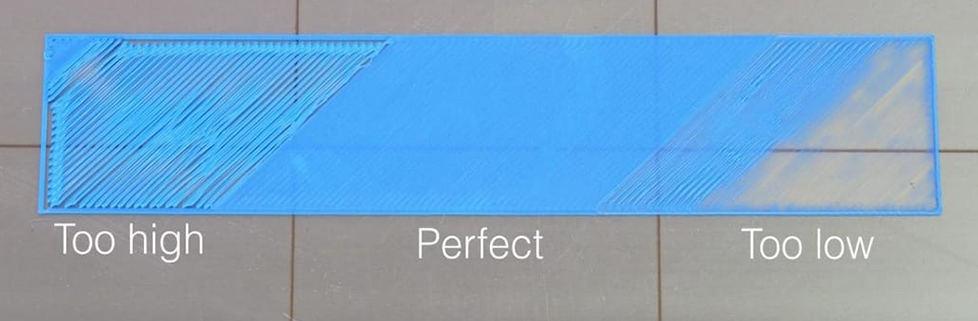
Nozzle too close:
Lines are overly squished, rough, or material accumulates.
Nozzle too far:
Gaps appear between lines and adhesion becomes weak.
Correct leveling:
Lines are adjacent, uniform, and well‑adhered to the surface.
Modern printers may use automatic leveling systems, but this does not mean the first layer can be ignored — always verify it visually.
② 🌡️ Temperature
🎯 Goal
Choose the optimal nozzle temperature to balance surface quality, adhesion, stringing, bridging, and fine details.
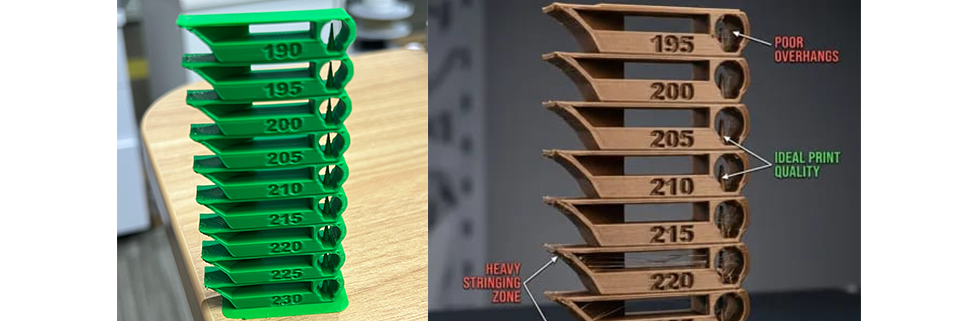
🧪 Test
Use a temperature tower starting from the manufacturer’s recommended range.
Example:
210 → 215 → 220 → 225 → 230°C
👀 Observe
- Surface quality
- Stringing
- Layer adhesion
- Bridging
- Fine details
✅ Result
Choose the best overall temperature and use it for the next steps.
💡 Do not choose based only on minimal stringing; aim for the best overall result.
③ ⚡ Maximum Volumetric Flow
🎯 Goal
Determine the maximum amount of filament your hotend can melt per second (mm³/s).
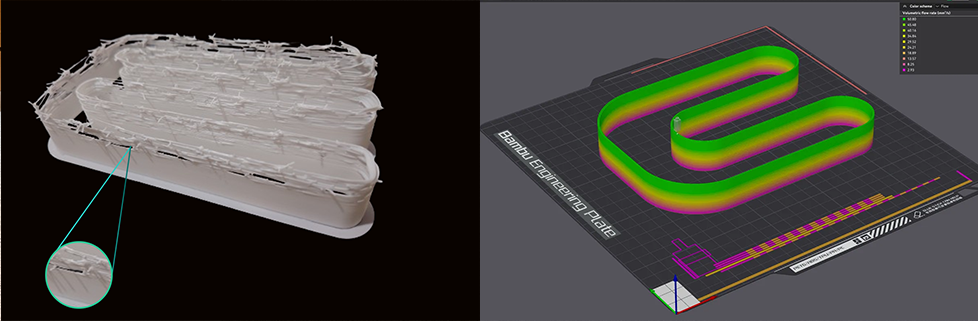
💡 Perform this test after choosing the correct nozzle temperature.
Your printer may support high speeds, but the hotend may not melt filament fast enough. Exceeding the limit causes:
- 🔻 Under‑extrusion
- Weak layers
- Rough surfaces
- Missing material
This test is especially important for high‑speed filaments.
✅ Result
Record the correct value for your printer, filament, and nozzle, and save it in your profile.
④ 🚀 Pressure Advance / Linear Advance
🎯 Goal
Improve filament flow during acceleration and deceleration, especially around corners and at high speeds.
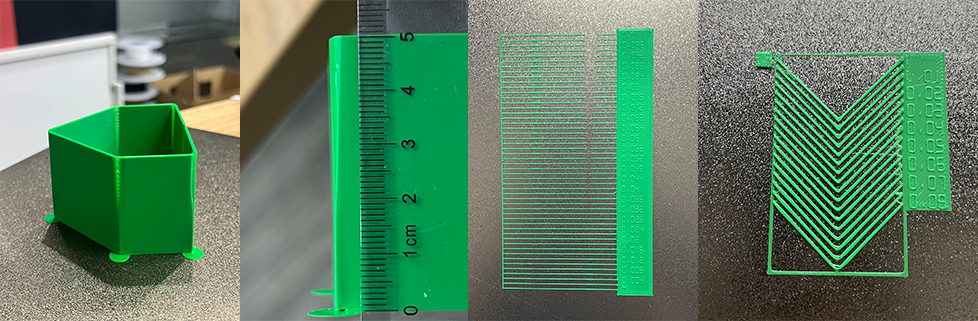
- In Klipper: Pressure Advance
- In Marlin: Linear Advance
⚠️ If your printer does not support this feature, skip this test.
⑤ 💧 Flow
🎯 Goal
Adjust the amount of filament extruded during printing.
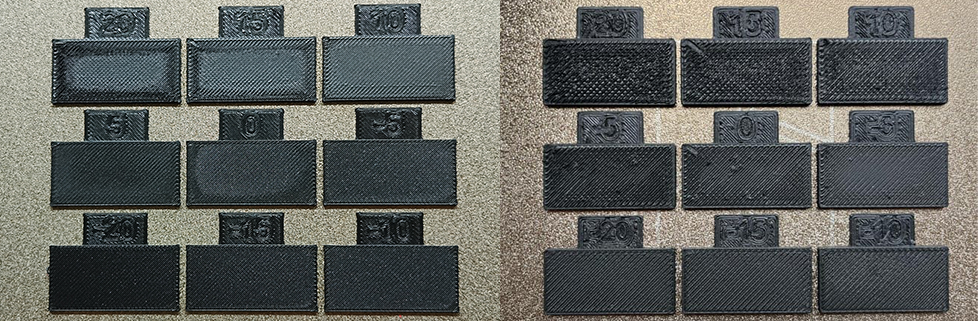
🔻 Low Flow
- Gaps between lines
- Weak layers
- Incomplete surfaces
🔺 High Flow
- Excess material
- Overlapping lines
- Rough surfaces
- Oversized dimensions
🧪 Test
Use a Flow Calibration test and choose the value that produces uniform lines without gaps or excess material.
💡 If you notice under‑extrusion at high speeds, check Maximum Volumetric Flow before increasing Flow.
⑥ 🧵 Retraction
🎯 Goal
Reduce stringing during travel moves.
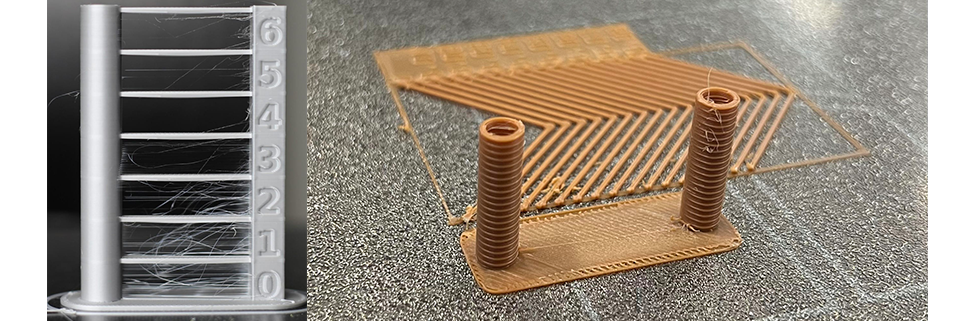
Adjust:
- Retraction distance
- Retraction speed
👀 Observe
Aim for minimal stringing while maintaining stable extrusion.
⚠️ Excessive retraction may cause under‑extrusion or issues at the start of lines.
⑦ 🌉 Bridging & Cooling
🎯 Goal
Test how well your printer and filament can print bridges without supports.
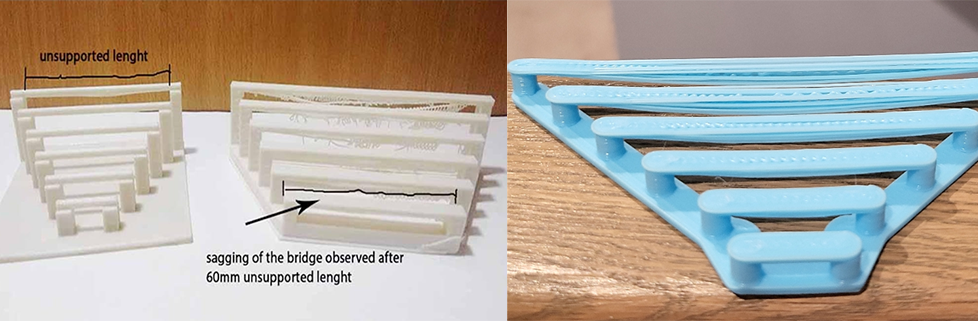
👀 If the bridge sags
Try:
- ❄️ Increasing cooling
- 🌡️ Lowering nozzle temperature slightly
- 🔄 Retesting
⚠️ Do not lower the temperature too much; maintain a balance between flow and cooling.
⑧ 📏 Dimensional Accuracy
After completing calibration, print a 20 × 20 × 20 mm cube to check:
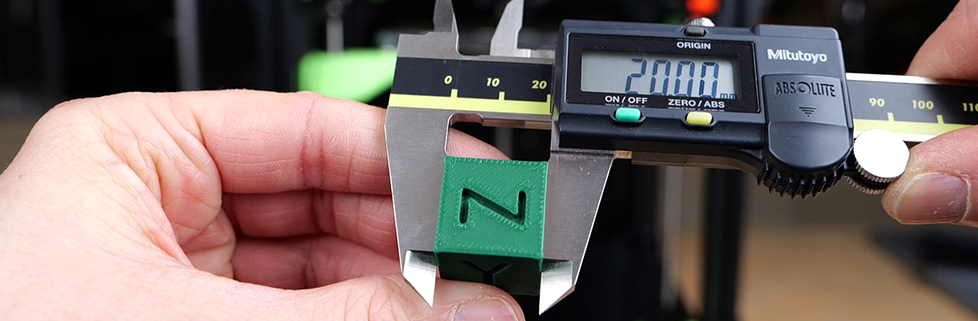
- X
- Y
- Z
- Wall straightness
- Surface quality
⚠️ Dimensional errors are not always caused by Flow; they may be mechanical or motion‑related.
🔧 Common Problems & Quick Fixes
Problem                     | Check First
----------------------------|-----------------------------------------
🧵 Stringing                | Retraction + Temperature
🔻 Under‑extrusion          | Max Volumetric Flow + Flow + Temperature
🔺 Over‑extrusion           | Flow
🌉 Poor bridging            | Cooling + Temperature
🌀 Warping                  | Bed Leveling + Bed Temperature
🔲 Bulging corners          | Pressure Advance / Linear Advance
📏 Inaccurate dimensions    | Flow + Motion settings
🧱 Weak layer adhesion      | Temperature
💾 Save Your Filament Profile
After finishing calibration, save your settings so you don’t repeat the entire process.
💡 When changing filament type or nozzle, you may need to redo some tests.
🔄 When Should You Recalibrate?
Changing the manufacturer
PLA from Brand A ≠ PLA from Brand B
Changing filament type
PLA+ → PLA HS → PLA Matte → PLA Silk
Behavior changes slightly.
Changing the nozzle
Material or diameter:
Brass → Steel
0.4 → 0.6
Affects heat transfer and flow.
Changing color
Usually does not require full recalibration, but monitor the first print.
❓ Frequently Asked Questions
Do I need to calibrate every spool?
Not always — if it’s the same type and brand.
Do I need to recalibrate when changing color?
Usually no, but monitor the print.
Is PLA calibration different from PETG?
Yes, each material behaves differently.
Should I use manufacturer settings?
Yes, as a starting point.
Do I need all tests?
No, start with the basics and use advanced tests when needed.
🏆 Summary
⭐ Change only one setting per test
⭐ Use manufacturer recommendations as your starting point
⭐ Save your final filament profile
📚 Sources
- Bambu Lab — Calibration Guide
- https://wiki.bambulab.com/en/bambu-studio/Calibration
- OrcaSlicer — Calibration Guide
- https://www.orcaslicer.com/wiki/calibration/calibration_guide
- OrcaSlicer — Maximum Volumetric Speed Calibration
- https://www.orcaslicer.com/wiki/calibration/volumetric_speed_calib.html
- OrcaSlicer — Pressure Advance Calibration
- https://www.orcaslicer.com/wiki/calibration/pressure_advance_calib
- Teaching Tech — 3D Printer Calibration
- https://teachingtechyt.github.io/calibration.html
- Teaching Tech — 3D Printer Calibration Revolutionised